After posting my Closet Room the other day I got so many requests from you guys asking where I got the wardrobes and how to set them up etc. Believe it or not these babies came from Mr Price Home and at only R899 a piece. I’ve got four of them that we joined together to create my Closet Room.
Here’s how you can get your own…
CLOSET IN A BOX
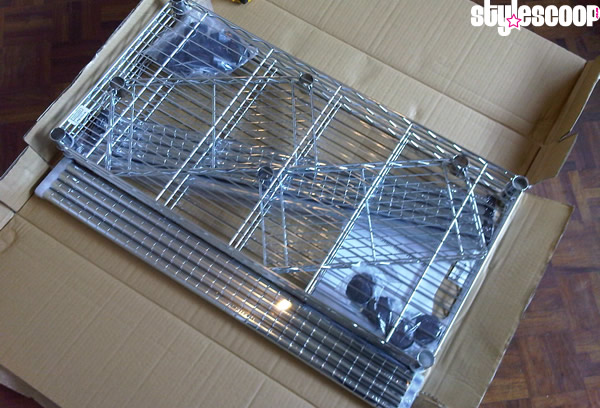
Each one of the wardrobes come in a box that you assemble yourself.

It’s fairly easy to get the wardrobe up yourself, but its great if you have some help. I’m glad my hubby helped me put my wardrobes up as he came up with the idea to join the two together, making them look like a single unit.

Each wardrobe comes with three shelves (one for the top, one for the middle and one for the bottom as well as two small shelves that you can put in or outside the unit). I put them on the outside to give me more hanging space.
You can place the shelves wherever you want, they don’t have to be exactly as the instruction. You will however need a bottom shelf for support and one fairly close to the top to keep it supported throughout.
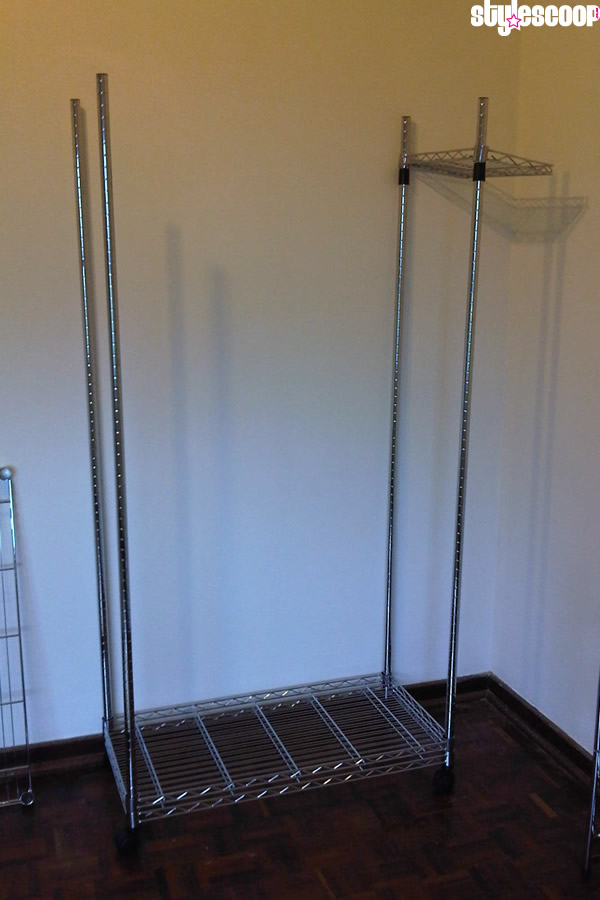
The only thing you wont be able to to do, is if you’re going to join the wardrobes you wont be able to have all the shelves aligned in the same position. The support poles have little grooves on them that allow you to place the shelf rack wherever you want. They come with these clever little clips (see the little black bits) that clip together to help you stand the shelf and they support it quite well.

Here’s what my one section looked like before I started packing and styling my clothes into it. That’s two units assembled together.
For my Closet Room, initially I was going to have only these two racks and then four shoe racks stacked against the other wall. The shoe racks are awesome and are also from Mr Price Home. They were R129 bucks each and totally worth it. They expand so you can choose how wide you want them. They are also stack-able, this pic below is four racks stacked on top of each other. The pic above is two racks stacked.
 Each shoe rack has a double rail and each one holds five pairs of shoes – so ten pairs per rail. Not bad! It’s not the strongest rail, so I was a bit worried about stacking so many together and then also having my shoes on them.
I asked my hubby for some ideas on how to make the shoe stand stronger and he actually came up with the idea of putting the shoe racks in between the wardrobes.To fill up the wasted space.

He also suggested I get another two wardrobes to make the room look better and he even came straight from work to install them for me – such a cutie pie!

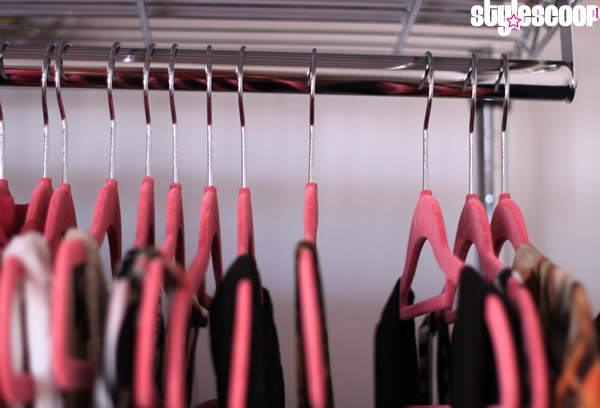
The pink hangers with the felt came from a little shop in Durban North. They cost R50 for 10 hangers and come in different colours. If you know the Woolworths centre on Kensington Drive, it’s the little clothing shop right by the Woolies entrance on the left. GO GET EM!

I’ve been hunting down a pretty dressing table/ vanity table to match my whole room setup and tried using one of the shelves as a dressing table top. And it worked, purrfectly! Although it’s already not bad for me to sit and do my makeup there, I still want to get a nice wooden top with a mirror over it to finish it off and make it look like a real table.
I’ll have a full post on the vanity and makeup setup soon, so stay tuned… Please also below and subscribe to the comments thread as I’ll be posting the link to my vanity setup and makeup storage soon on this page.
And the finished product again… Read all about it here

If you’ve got some cool clothing storage ideas, we’d love to hear them. Post below and tell us your secrets 🙂
xo
Dimi
